How to Rehydrate Your Dried Sourdough Starter
Step 1: Rehydrate
Place 5 grams (about 1 heaping teaspoon) of dried starter in a small bowl or jar.
Add 20 grams (about 1 tablespoon + 1 teaspoon) of warm water (around 75–80°F).
Stir gently until the starter is fully moistened.
Let it sit for 3–4 hours, loosely covered, until softened.
Step 2: First Feeding
Add 20 grams (about 2 tablespoons) of unbleached all-purpose flour.
Add another 20 grams (about 1 tablespoon + 1 teaspoon) of warm water.
Stir well until smooth.
Cover loosely and leave at room temperature (70–75°F).
Step 3: Continue Feeding
Every 12 hours (morning and evening), discard half of your starter (about 1–2 tablespoons).
Feed with:
20 grams flour
20 grams water
Step 4: Watch for Activity
Within 3–5 days, your starter should become bubbly, rise and fall predictably, and smell pleasantly tangy.
Once it reliably doubles within 4–6 hours after a feeding, it's ready to bake!
Quick Tips:
Use a kitchen scale if possible for best results.
If it smells sour, fruity, or yeasty — that’s good!
If it smells bad (rotten, moldy), start over.
Use a clean container every few days to keep your starter healthy.
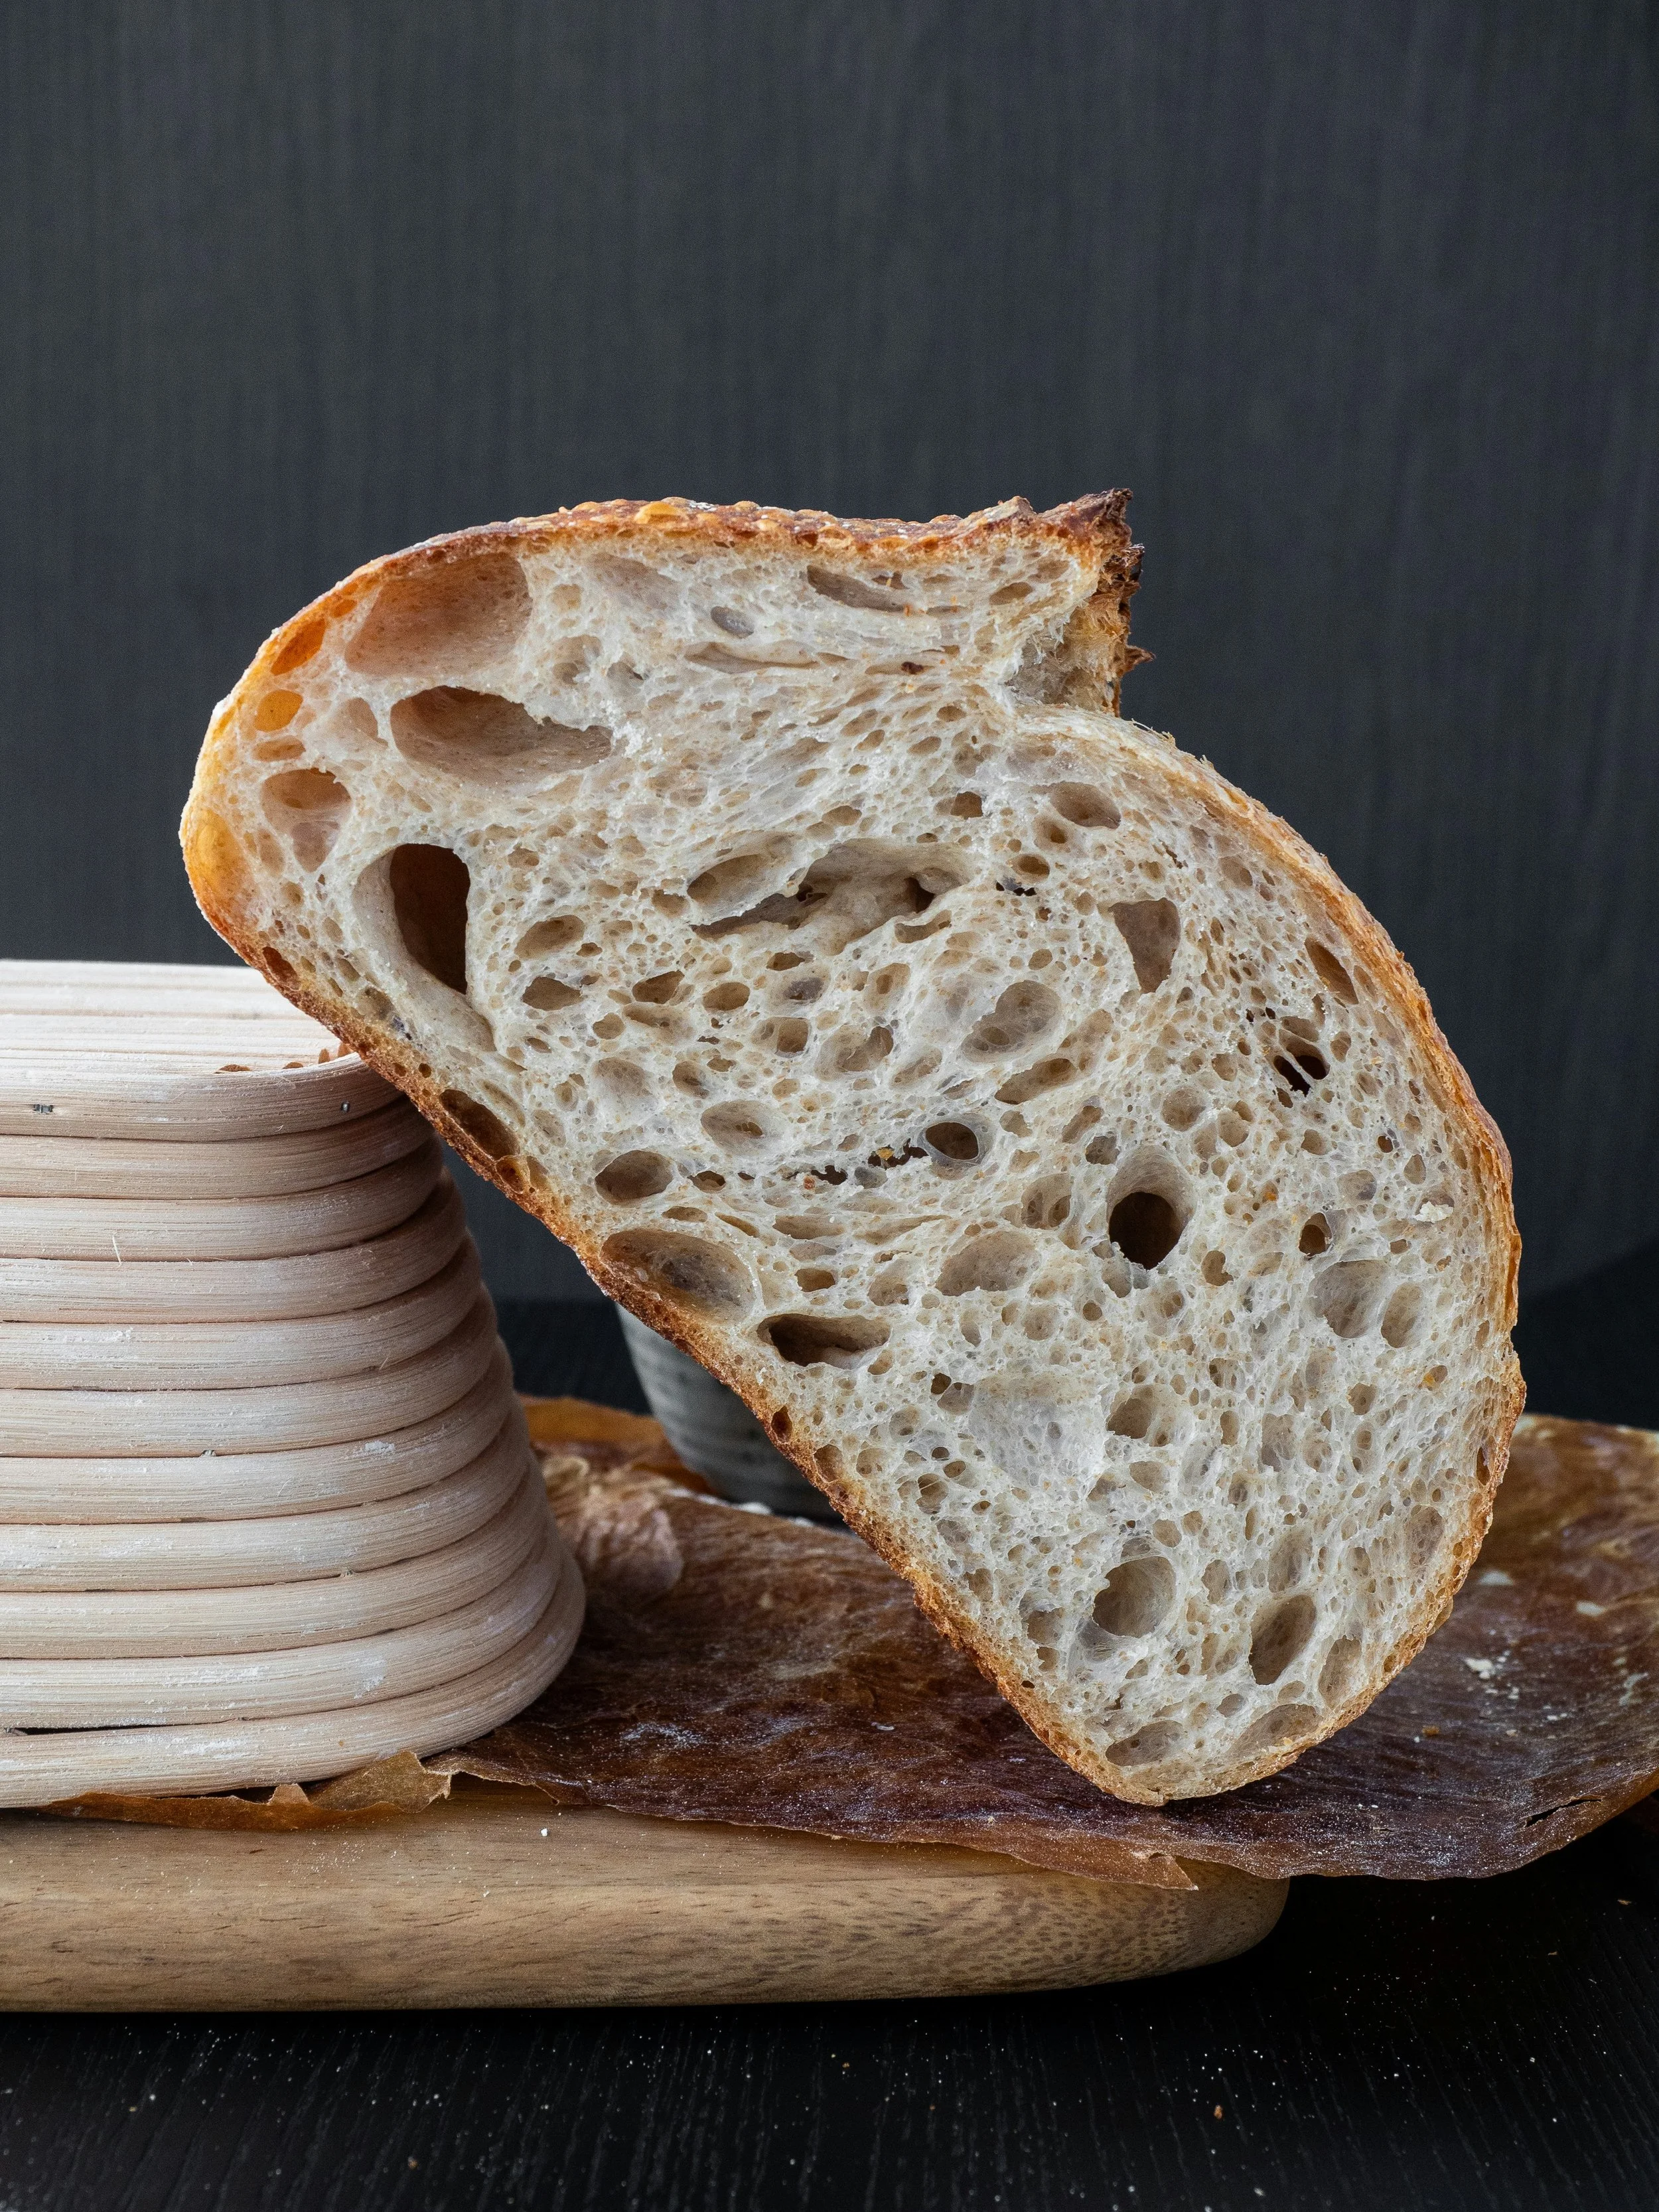
Easy Beginner Sourdough Bread
Ingredients:
500g (about 4 cups) bread flour or all-purpose flour
350g (about 1½ cups) water, room temperature
100g (about ½ cup) active sourdough starter
10g (about 1½ teaspoons) salt
Instructions:
1. Mix the Dough
In a large bowl, mix the flour and water together by hand or with a spoon until just combined.
Cover and let it rest for 30–45 minutes (this is called "autolyse").
After resting, add the sourdough starter and salt.
Mix everything together until fully incorporated. The dough will be sticky — that's okay!
2. Stretch and Fold
Over the next 2–3 hours, perform 3–4 sets of "stretch and folds" about 30 minutes apart:
Wet your hand, grab a portion of the dough, stretch it up, and fold it over itself.
Rotate the bowl and repeat 3–4 more times per set.
3. Bulk Fermentation (First Rise)
Cover the bowl and let the dough rise at room temperature for 4–6 hours, or until it has roughly doubled in size and looks bubbly.
4. Shape the Dough
Lightly flour a clean surface. Gently turn out the dough.
Shape into a ball by folding the edges into the center, then flip it over and gently tighten it by pulling it across the counter.
5. Final Proof (Second Rise)
Place the dough seam-side up into a floured proofing basket or a bowl lined with a floured kitchen towel.
Cover and let it proof for 1–2 hours at room temperature, or refrigerate overnight (8–12 hours) for better flavor.
6. Preheat the Oven
Preheat your oven to 450°F (230°C) with a Dutch oven or heavy pot inside.
Heat for at least 30 minutes.
7. Bake
Carefully turn your dough onto a piece of parchment paper.
Score the top with a sharp knife or razor blade (a single shallow slash works great).
Transfer the dough into the hot Dutch oven.
Bake covered for 20 minutes, then uncovered for 20–25 more minutes until deep golden brown.
8. Cool
Remove from the pot and let cool completely on a wire rack before slicing.
Tips for Success:
Don't rush the rising times — sourdough works slowly but rewards you with great flavor!
Flour your hands and surface lightly to prevent sticking.
Baking from cold dough (straight from the fridge) works great for oven spring (that beautiful rise).